After looking around on the Internet at various tutorial videos I came up with an idea, it was not based on any one video, but used ideas from a selection of sources.
Here is a sneak peak at the finished Holder - this one is decorated for Christmas, but you could use any colours with any decoration (the possibilities are endless)...
So here is my latest How To... brought to you in pictures.
Beware: This is a post with lots of pictures!
To create this holder I have used the Spellbinders 'Labels Seventeen' dies, in particular the largest size.
Cut out 2 shapes in card stock, I used a double sided card stock (with the red strips on the front & a cream colour on the back).
You will then need to cut a 1/2 size shape to form the pocket. As I wanted to pick the patten part of the paper, I used a Post-It note placed over the die to keep it in place while I added the 'C' plate & wound it through my Cuttlebug (many thanks to Dawn Griffith's Videos for this idea).
Trim this part piece so that it is only 1/2 the height of the full die.
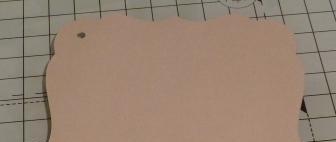
Put both full pieces together & punch a hole in the top left corner - this needs to be the correct size to fit an eyelet through.
Place the Pocket into the glue & set aside to dry.
While the pocket is trying you can decorate the front of the holder. For this one I added a Christmas Tree created using the Sizzix Stamp & Die set. I also added a simple Happy Christmas sentiment.
Once the glue on the pocket was dry I put the front & back together & fixed a eyelet in place to hold them together - Don't crimp it too tight as you want to be able to twist the front & back round.
With the front twisted round you can access the pocket for the gift card. Alternatively you could create a fold and use the eyelet like a hinge.
I ended up making 15 in one session (taking about 2 hours) here are a few examples.


that is brilliant. love it
ReplyDeleteGreat idea, love the hinge! TFS
ReplyDeleteI think instead of just putting the gift in a greeting card, add a special personalized touch by making one of these unique gift card holders yourself.
ReplyDeletebrochure holders